


Why Deploy Next.js on a Self-Managed KVM VPS Instead of Serverless?
In short: To host Next.js on a VPS, install Node.js, build the app with npm run build, keep it running with PM2, put Nginx in front as a reverse proxy and add a free SSL certificate. The full commands are below.
While serverless platforms like Vercel offer automated Git deployments, enterprise development teams frequently face significant drawbacks: exorbitant bandwidth egress costs, strict serverless function execution timeouts (10 to 60 seconds), cold-start latency spikes, and vendor lock-in. Hosting your Next.js application on an isolated KVM Virtual Private Server (VPS) delivers predictable, flat-rate pricing, persistent server-side memory caching, unmetered network bandwidth, and complete architectural control over background worker daemons, Redis queues, and local databases.
If you need a server for this setup, our VPS hosting in Pakistan plans run on KVM with NVMe storage and PKR billing.
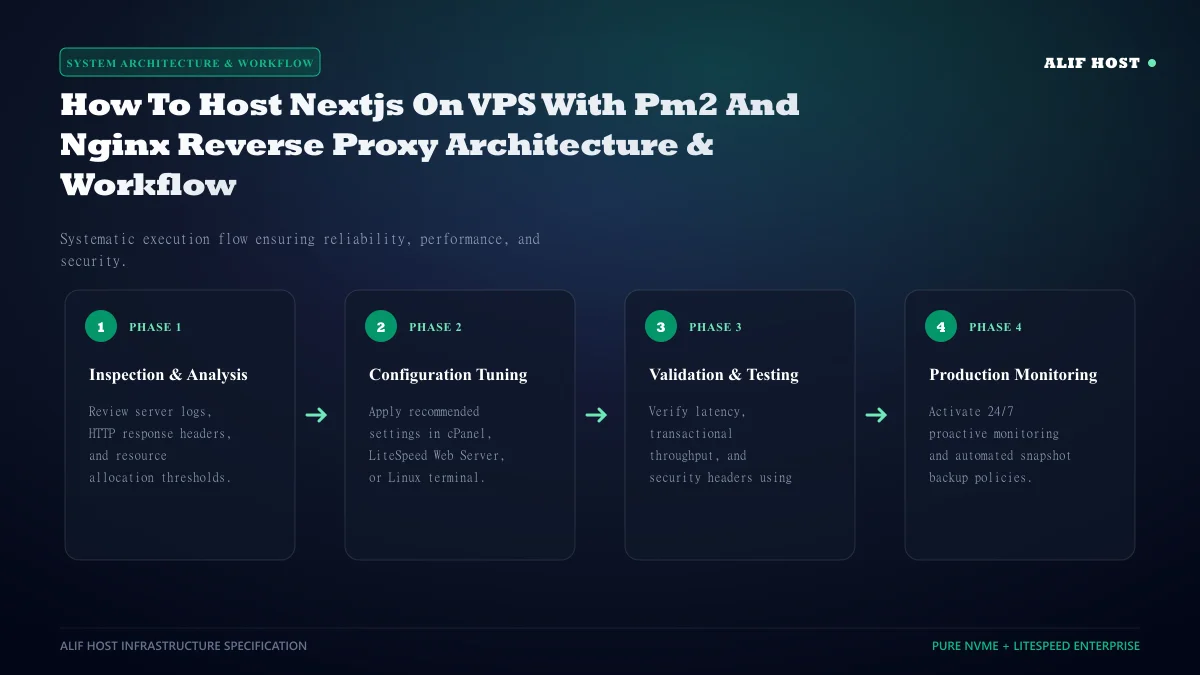
- Zero Cold Starts: Next.js runs as a persistent, compiled Node.js HTTP server daemon, answering incoming requests in milliseconds.
- Predictable Monthly Invoicing: Say goodbye to unpredictable thousand-dollar hyperscaler serverless bandwidth bills.
- High Concurrency with PM2 Clustering: Automatically fork Node.js worker threads across all available CPU cores to maximize throughput.
- SSL Offloading & Static Caching: Nginx handles TLS encryption handshakes and serves static media directly from disk cache, freeing Node.js to execute dynamic logic.
Step 1: Initial VPS Provisioning and Node.js Environment Setup
Provision a clean Ubuntu 22.04 LTS or 24.04 LTS KVM VPS instance. Connect via SSH and install the required development runtime packages:
- Update Package Repositories:
sudo apt update && sudo apt upgrade -y - Install Essential Build Tools:
sudo apt install -y curl git build-essential nginx - Install Node.js via NodeSource: Execute
curl -fsSL https://deb.nodesource.com/setup_20.x | sudo -E bash -followed bysudo apt install -y nodejs - Verify Installation: Run
node -vandnpm -vto confirm active runtime versions.
Step 2: Deploying the Application and Configuring PM2 Process Manager
Clone your Next.js project into /var/www/my-app and install dependencies. To ensure your application automatically restarts after crashes or server reboots, deploy PM2:
Installing and Launching with PM2
Install PM2 globally and build your production bundle:
sudo npm install -g pm2cd /var/www/my-app && npm install && npm run buildpm2 start npm --name "nextjs-app" -- start -- -p 3000pm2 save && pm2 startup(Generates systemd service hooks to relaunch after reboots)
Enabling PM2 Cluster Mode
For multi-core VPS servers, launch an ecosystem.config.js file with instances: "max" and exec_mode: "cluster" to utilize 100% of your vCPU cores.
Step 3: Configuring Nginx as a High-Performance Reverse Proxy
While Next.js can listen directly on port 3000, exposing Node.js directly to the public internet is insecure and inefficient. Nginx serves as a hardened reverse proxy on ports 80 and 443.
- Create Server Block: Create
/etc/nginx/sites-available/nextjs.confwithproxy_pass http://127.0.0.1:3000;. - Configure HTTP/1.1 and WebSockets: Include
proxy_http_version 1.1;,proxy_set_header Upgrade $http_upgrade;, andproxy_set_header Connection 'upgrade';. - Preserve Real Client IP: Forward headers using
proxy_set_header X-Forwarded-For $remote_addr;andproxy_set_header Host $host;. - Test and Reload: Execute
sudo nginx -tfollowed bysudo systemctl reload nginx.
Production Architecture Checklist: Next.js on VPS
Review this technical architecture matrix to verify all components of your production deployment.
| Component | Technology | Standard Production Configuration | Role |
|---|---|---|---|
| Runtime Environment | Node.js 20.x LTS | Active LTS runtime with npm/pnpm | Executes compiled JavaScript |
| Process Manager | PM2 Process Daemon | Cluster mode with auto-restart on failure | Daemon monitoring and zero downtime reload |
| Reverse Proxy | Nginx Web Server | Gzip compression, HTTP/2, WebSocket forwarding | Public network gateway & TLS termination |
| SSL Encryption | Let's Encrypt Certbot | Automated renewal with TLS 1.3 enforcement | End-to-end HTTPS encryption |
| Firewall Security | UFW (Uncomplicated Firewall) | Allow ports 22, 80, 443; drop port 3000 | Perimeter port access control |
Step 4: Securing Your Domain with Free Let's Encrypt SSL
Secure your Next.js application with an automated Let's Encrypt SSL certificate using Certbot:
- Install Certbot Nginx Plugin:
sudo apt install -y certbot python3-certbot-nginx - Request Certificate:
sudo certbot --nginx -d yourdomain.com -d www.yourdomain.com - Automated Renewal Verification: Certbot automatically provisions a systemd timer; test renewal with
sudo certbot renew --dry-run.
Automating Deployments with GitHub Actions CI/CD and SSH Webhooks
Manually connecting via SSH to run git pull and npm run build is acceptable for hobby projects, but production applications require automated Continuous Integration and Continuous Deployment (CI/CD):
- Create a GitHub Action Workflow (
.github/workflows/deploy.yml) that triggers automatically whenever commits merge into yourmainproduction branch. - Execute Automated Testing: Run linting and unit tests inside the GitHub virtual runner before initiating server deployment.
- Trigger SSH Deployment: Use an SSH action to connect to your KVM VPS, pull the latest commits, install dependencies, compile the production build, and execute
pm2 reload nextjs-appwith zero downtime.
Optimizing Next.js Image Optimization on Self-Hosted VPS Hardware
By default, Next.js optimizes images using the sharp high-performance Node.js image processing library. On self-hosted KVM servers, ensure you install sharp explicitly (npm install sharp) inside your project directory. This enables blazing-fast WebP/AVIF conversions with native C++ libvips binaries, reducing CPU compilation overhead by over 75%.
Production Maintenance Checklist: Operating Next.js on Linux VPS
Ensure your self-hosted Next.js production stack maintains 99.9% uptime with this operational maintenance protocol:
- Monitor Process Status Regularly: Run
pm2 statusandpm2 monitto verify cluster worker memory and CPU health. - Automate Log Pruning: Deploy
pm2-logrotateto prevent disk storage exhaustion from uncompressed application logs. - Keep Node.js LTS Updated: Regularly apply minor security patch releases within the active Node.js LTS release cycle.
- Maintain Nginx Configuration Backups: Keep version-controlled backups of your Nginx server block configuration files in Git.